
Guide
From photo to crystal, step by step.
This is the real Crystool app. Follow these 8 steps and your first crystal is ready for the laser in a few minutes.
Tap any screenshot to see it bigger.
-
1
Install and activate
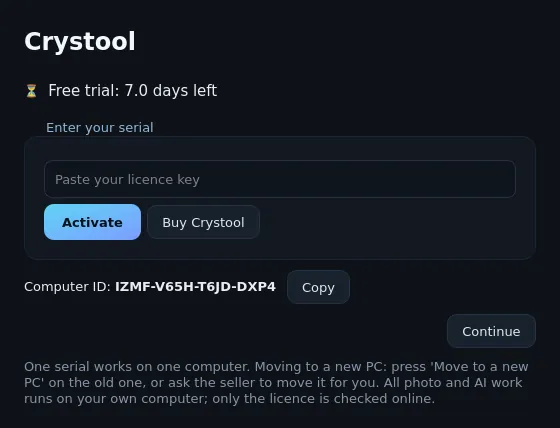
Download Crystool for Windows or Mac from the homepage and open it. The 7-day trial starts on its own. When you buy a licence, open Settings → Licence / serial…, paste your serial and press Activate.
-
2
Start a new project
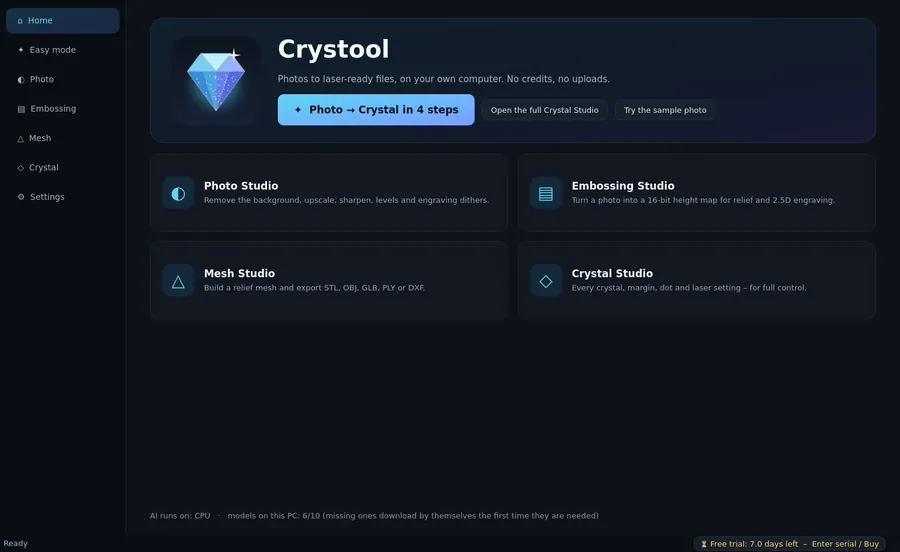
On the Home screen press Photo → Crystal in 4 steps. The easy mode walks you through Photo, Depth, Crystal and Export. Want every setting? Open the full Crystal Studio instead.
-
3
Add your photo
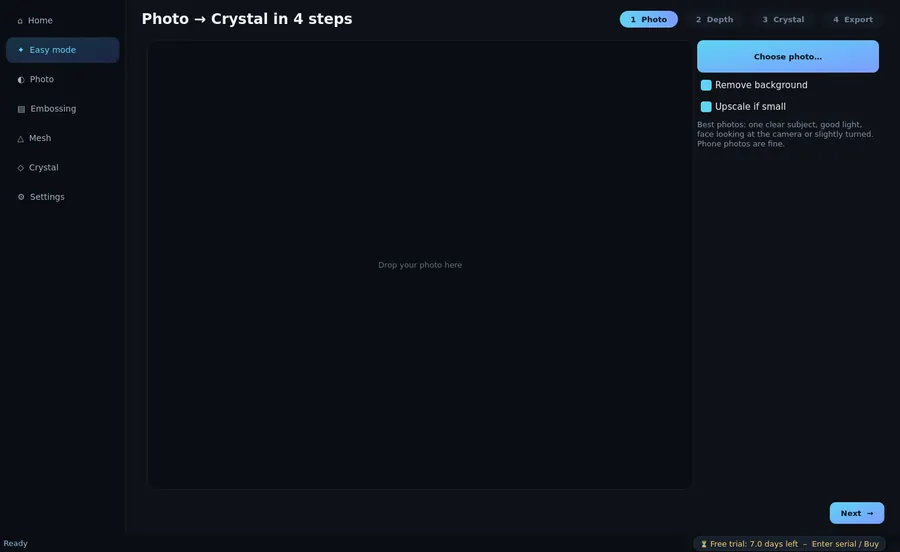
Press Choose photo and pick a sharp, well-lit portrait. Crystool can remove the background for you, so you don't need to cut it out first.
-
4
Convert it to 3D
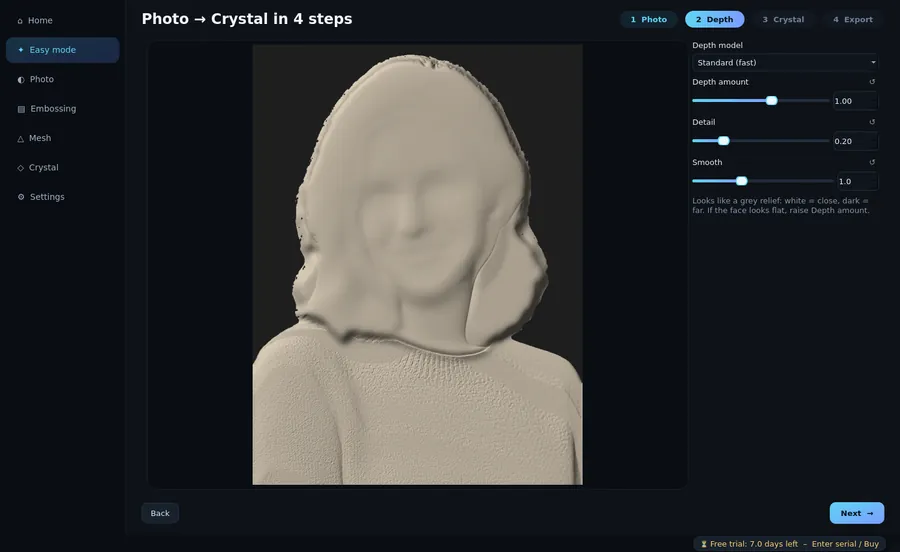
Crystool builds the 3D depth of the face on your own computer, in a few seconds. Use the sliders if you want more or less depth.
-
5
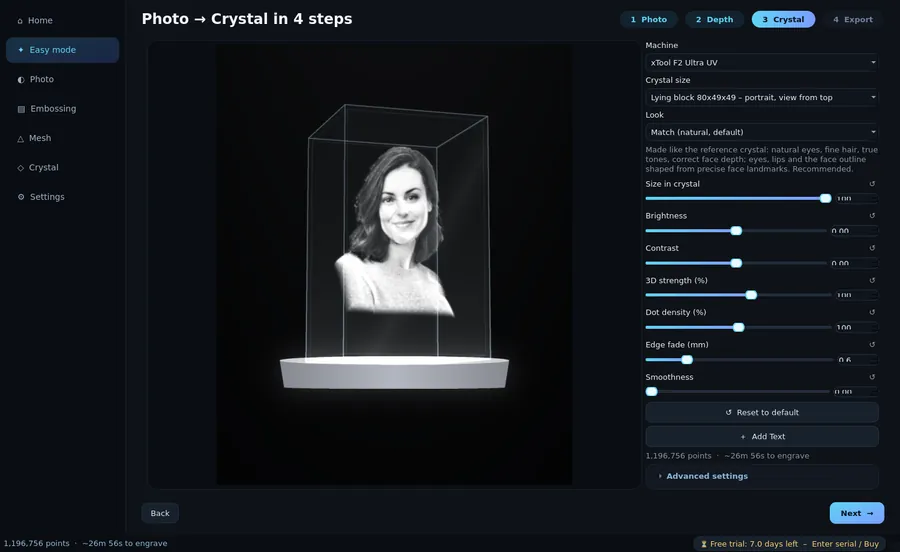
Choose your crystal
Pick your laser and the crystal size, for example the lying block 80×49×49. The 3D preview shows the photo inside the glass right away, and you can turn it with the mouse.
-
6
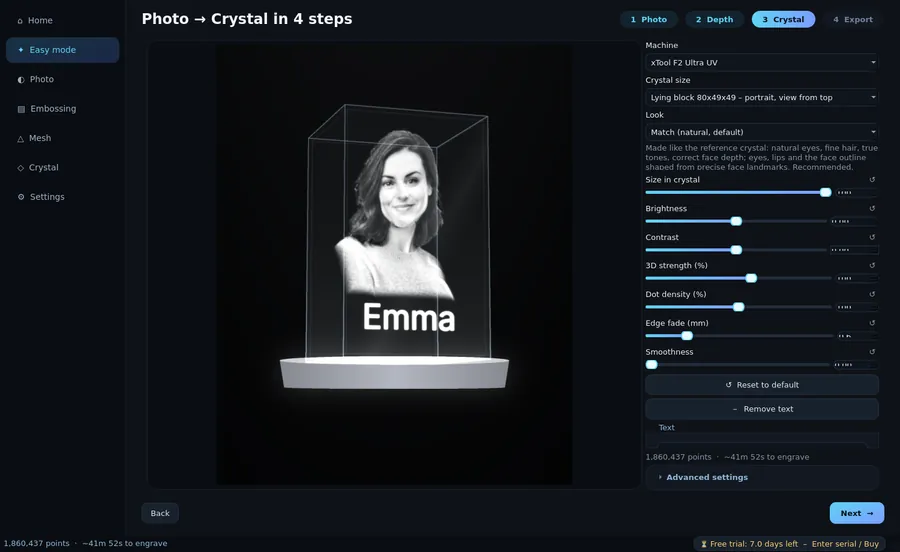
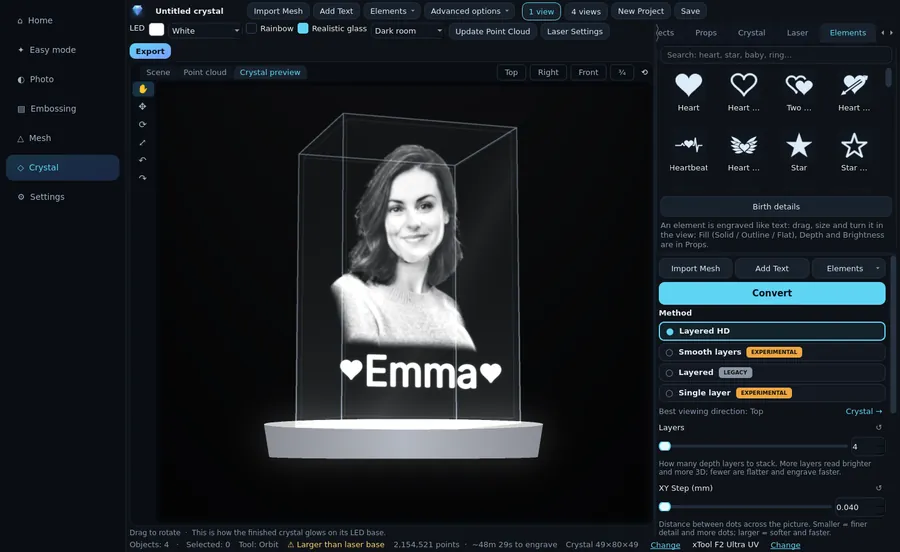
Add text and elements
Type a name or a date in the text box. In the Crystal Studio you'll find 49 elements, like hearts, stars, rings and a birth details template. Click one to add it, then drag it where you want it.
-
7
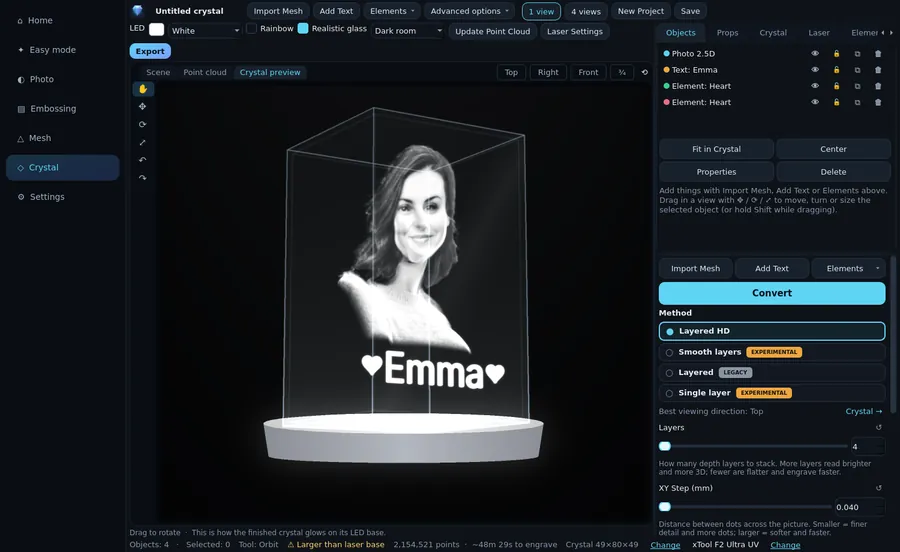
Check the preview
Turn the crystal and look at it from every side before you engrave. The Crystal preview shows how it will glow on its LED base. Undo and redo work with Ctrl+Z / Ctrl+Y.
-
8
Export to your laser
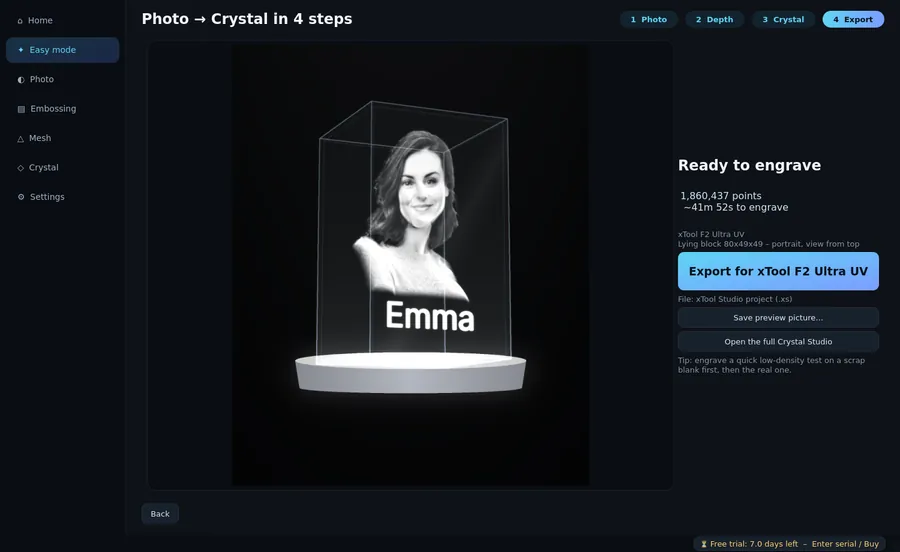
Press Export for xTool to save the project file. Open it in xTool Studio and engrave. Tip: try a quick low-density test on a spare blank first.
Ready to try it?
7 days free, the full app. A lifetime licence is €69.